|
To create beads please follow instructions:
Warm all the clay a little
in your hands and knead it pliable.
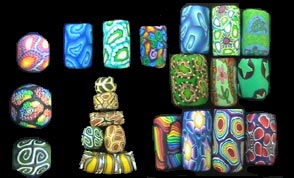
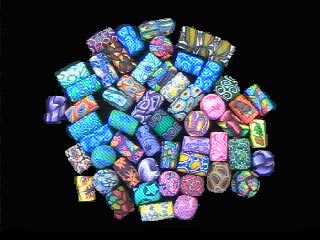
Shape balls of the right size. If you want to use Millefiori, cut off thin
disks and cover (some of) the balls with this. Roll these balls between your
palms until the disks have become embedded in the balls. Let them cool a bit
and then put them on to a
wooden stick, crochet hook or knitting needle. Hang this in the cake tin
to prevent pressure denting.
Create also tubeform "beads" in one colour. Knead a roll the right
size and put it also on a stick.
"Croissant": cut a thin sheet of clay into broad strips. Cut two
equilateral triangles out of the strips. Roll the triangles round a wooden
stick and press firmly.
Finishing touch
For a crazing technique, roll some of the beads in paper-thin leaf-metall (if
you want to obtain a smooth golden / silvery look you must use the leaf-metall
on hardened surfaces).
Bending and pressing a roll of clay covered with this leaf-metall will also
cause nice irregular cracks in the surface.
The croissant must be covered with a sheet of leaf-metall before rolled into a
croissant. Press the leaf-metall down well with a brayer/roller.
Hardening
and varnishing
Finished beads are hardened
in the oven at 110 C in a hanging position to prevent pressure denting. Hardening time: about 30 minutes.
After hardening it is essential to protect the beads
with a coat of varnish.
|
A new way of making beads:
Tri-Bead roller:
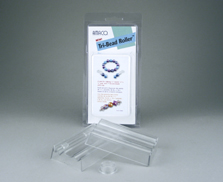
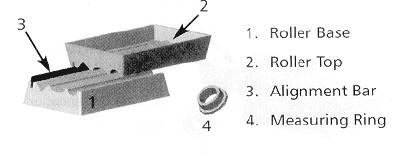
This tool makes round, oval, and bicone
beads in 3 easy steps: soften clay then measure using the supplied ring, roll
softened clay into a ball and place into one of the channels in the base, place
top over base and slide back and forth.
|
When you have a question
or a remark, please let me know.
Have fun!
|