|
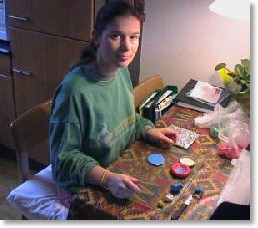
Did you get very interested in working with Fimo
and Creall-therm? Do you want more?
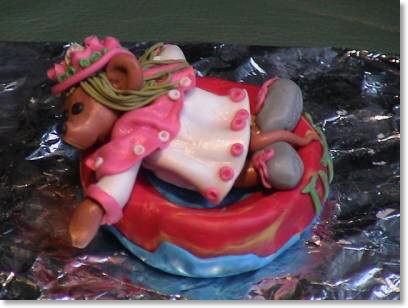
This is what I used for
my "frutsel" Titanic:
![]() aluminium
foil aluminium
foil
![]() lid of a jar (vegetables)
lid of a jar (vegetables)
![]() peeling-knife
peeling-knife
![]() modeling slices
modeling slices
![]() Extrusion Gun or a garlic press
Extrusion Gun or a garlic press
![]() smooth tile
smooth tile
![]() mat
mat
![]() kitchen oven (no microwave)
kitchen oven (no microwave)
Instructions
Knead
dough until smooth and pliable, otherwise it's hard
to handle.
You can intermix Fimo and Creall-therm.
Put
your workpiece on the tile, covered in aluminium foil.
Parts
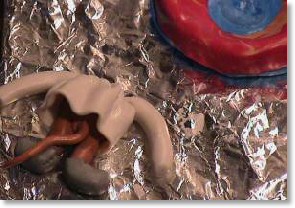
Cover
the lid in aluminium foil. Now you look inside the lid.
Choose a nice colour for the life-buoy. Put right in
the center a little bit of blue clay (round), so that
the water is visible.
On the bottom you can also put a bigger bit of blue
clay, the life-buoy is floating on the sea.
Use for the body, as mentioned in the beginners page,
a ball of clay. The head will be smaller. Use for the
coat another colour, the sleeves too. The legs are the
same colour as the body. There are no feet, but shoes.
Use another colour for those.
 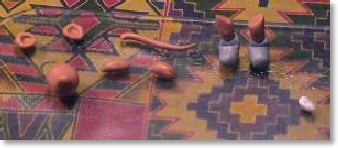
After this you will need 5 smaller balls of clay
(in the colour of the body) for the ears, tail and the
hands. She will need a hat, decorate it you like.
Head
Put a
ball between your thumb and your index finger and make
it a bit pointed. With your modeling slicer or the
peeling-knife you can make a mouth. Put a very small
ball of black clay on the tip (the nose). Use very small
balls of clay for her eyes. The ears are made of two
small balls of body colour, put the flat end of your
modeling slice on one end, see picture. The incisors
are made of a little bit of white clay. Put it inside
the mouth and attach it firmly.
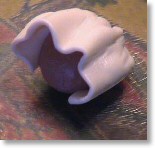
Coat
Make
a thin rectangular slice for her coat. Put it carefully
around her body, fasten it on both sides and fold/crease
it around her with the back of your peeling-knife. Put
her sleeves on to the coat, at the top and check if
the arms are not too long.
Make another coat or cape around this in the same
way. Now you can attach her tail to the body.
Legs/shoes
Make
her legs of two even sized rolls of clay (body colour).
One of the ends must be a little bit pointed to fit
into the shoes.
Make two nice shoes of a different
colour by kneading two balls slightly around you knife.
At the end of each shoe you can put a hole for the legs
to fit in.
 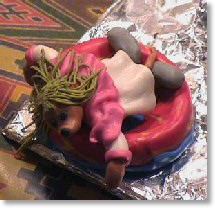
Finish
On
top of the cape you can put her head. Fasten it well,
do not push too hard otherwise you will deform the head.
Put on the legs and lay the mouse into the life-buoy.
Now that the head is attached to the body you can give
her her ears. Use the Extrusion Gun or a garlic press
to give her some hair.
Hands
Make
the hands of two small balls of clay in the colour of
the body. One end pointed again. Make two holes in the
sleeves and put the hands in. With your peeling-knife
you can carve the fingers. Finish the sleeves with a
border.
Hat
My mouse
has a little hat with flowers on it. Use your imagination
to create one yourself.
Finishing touch
I
have put on the life-buoy the characters "t i t
a n", as if the rest of the name of the ship was
damaged.
For more pictures of mice, click
here.
Please leave your remarks, ideas or otherwise on
my remarks page?! Thanks.
Have fun!
|